Set up your CD Cover template
1. Open Adobe Photoshop 2018
2. File > New > 4.5 inches x 4.5 inches. Resolution 300.
3. This square document is the template you will work in. Now you are going to add images (including the one of you that you took) into THIS document.
4. File > Open > locate your image and open.
5. Make sure the layer is not locked. Use the magnetic lasso tool OR the selection tool (2nd one down) to highlight the area/objects you'd like to copy. Once you've done that...
6. Edit > Copy Merged (if that is not available, click COPY instead).
7. Click the tab that brings you to the CD cover document.
8. Edit > Paste
9. Make sure you are working in the appropriate layer. Use the move tool (1st tool) to move and resize images. Remember to keep the SHIFT key pressed and hit ENTER when you are done resizing.
Continue editing. When class is almost over and you need to save your work...
File > Save As > title it YourNameCDCoverDesign > save it in your jump drive.
When You Are Ready to Submit:
File > Save As > Title it YournameCDcover > JPEG
Email it to [email protected] with the subject line "CD cover project"
If you are submitting the back cover as extra credit, follow these same steps and include that JPEG in the same email.
DUE TODAY 4/26.
Design
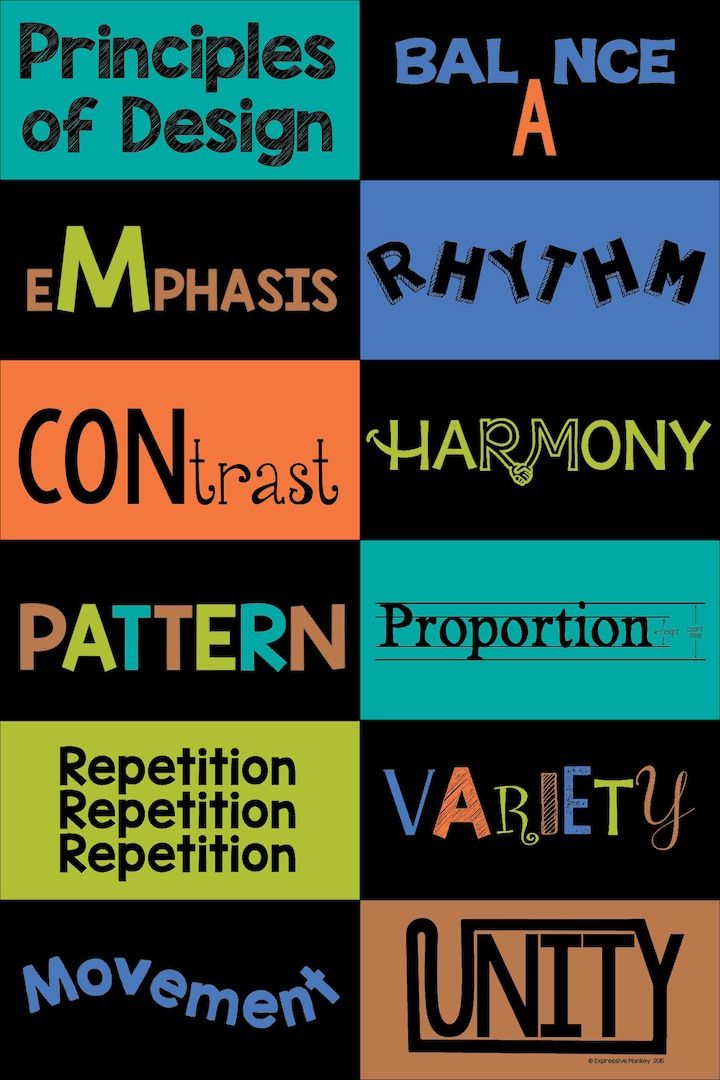

Movement

Contrast

Harmony

Unity

Repetition

|
Pattern

Proportion

Emphasis
Variety
Rhythm
|
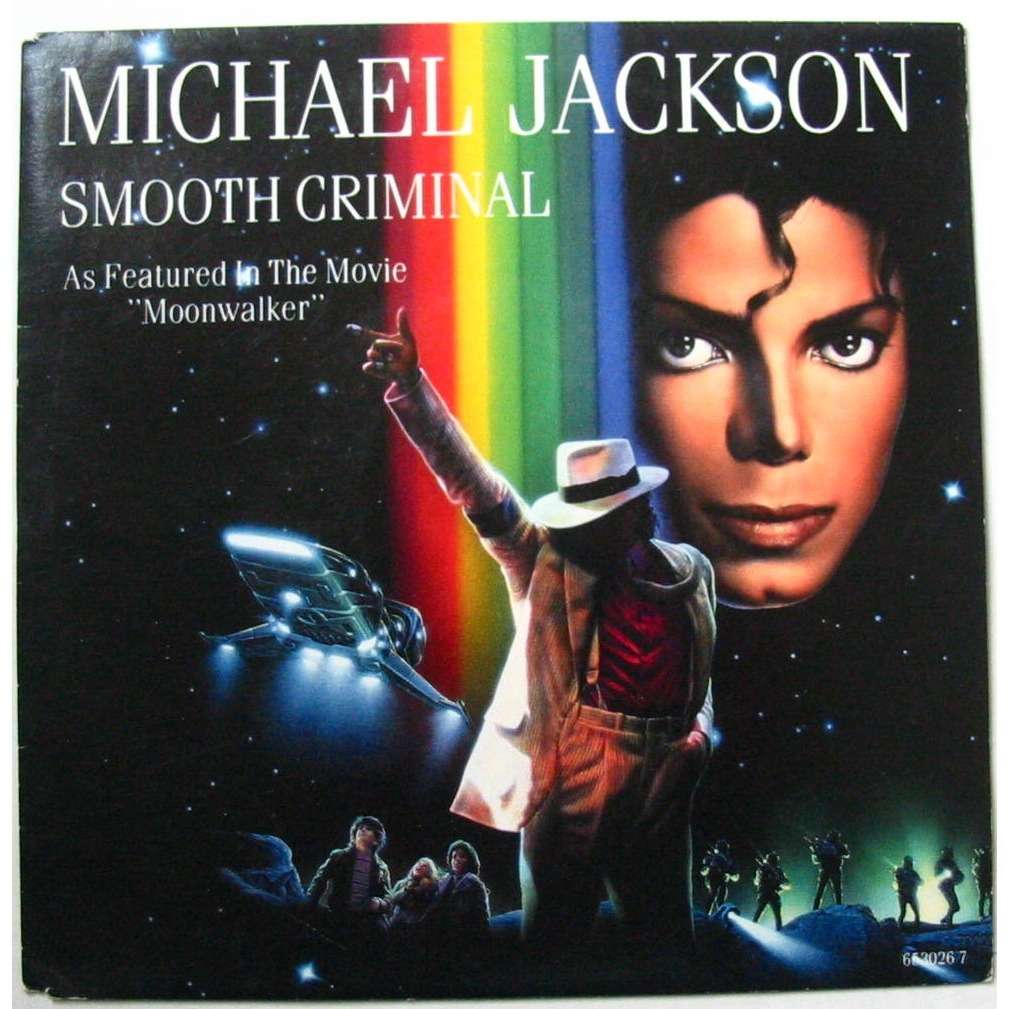
Album Covers


Fonts
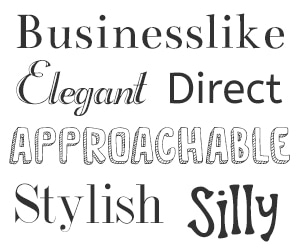
Why do font choices matter?
Designers (including Erik Spiekermann, Dan Mayer, and Jessica Hische) have been known to compare choosing fonts for design projects to choosing an outfit to wear. And it’s an apt analogy. Think about what your clothes might say about you: based on what you wear, people might rightly or wrongly make assumptions about your style, your personality, your socio-economic background, your age (or the age you wish you were), or the kind of impression you want to make. And different occasions and situations call for different apparel. You wouldn’t wear a bathing suit to a job interview; then again, you wouldn’t want to wear a suit and tie during your vacation on the beach either. There’s an element of appropriateness to consider.
Now, what your clothes do for you, font choices serve the same purpose in a design. Typography often provides that at-a-glance first impression that people gauge and judge the rest of the design by — so your font choices need to be purposeful and appropriate. Is your font saying “beach vacation” when it should be saying “job interview”? Do the elements of your font “outfit” clash, or do they complement each other? Are they effectively communicating the qualities you want to project? These considerations are part of what makes choosing fonts such an important part of the design process, one that should be approached thoughtfully.
Font choices often set the tone for the whole design and can influence viewers’ feelings toward and interactions with your design — just like how if you were to show up at a black-tie party in your favorite threadbare t-shirt and sweatpants, people would judge you on your appearance. Don’t be that guy with your design and give viewers an excuse to make incorrect assumptions about your brand or business; bad typographic choices always distract from your design’s message and intentions.
https://designschool.canva.com/font-design/
Your Project
You will design your own album cover on Adobe Photoshop.
Step 1: Research and plan your ideas. Thumbnail sketches, 2-3
Step 2: Photograph yourself and other images you will be using. Be mindful of how you are setting up yourself and your subjects. **Remember, lighting is key!
Step 3: Research on your own how to accomplish your ideas using Adobe Photoshop.
Step 4: You will document how it is you completed your project. Therefore, you will need to save the links to all of your online sources.
Step 5: Print and put together inside of a blank album case.
EXTRA CREDIT: Design a back cover with song titles.
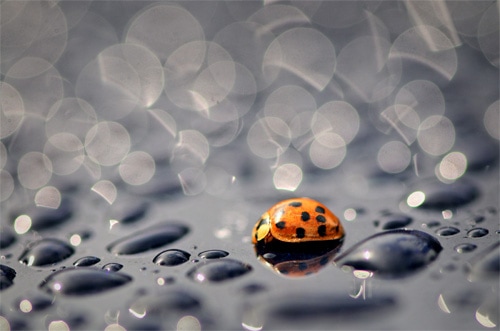
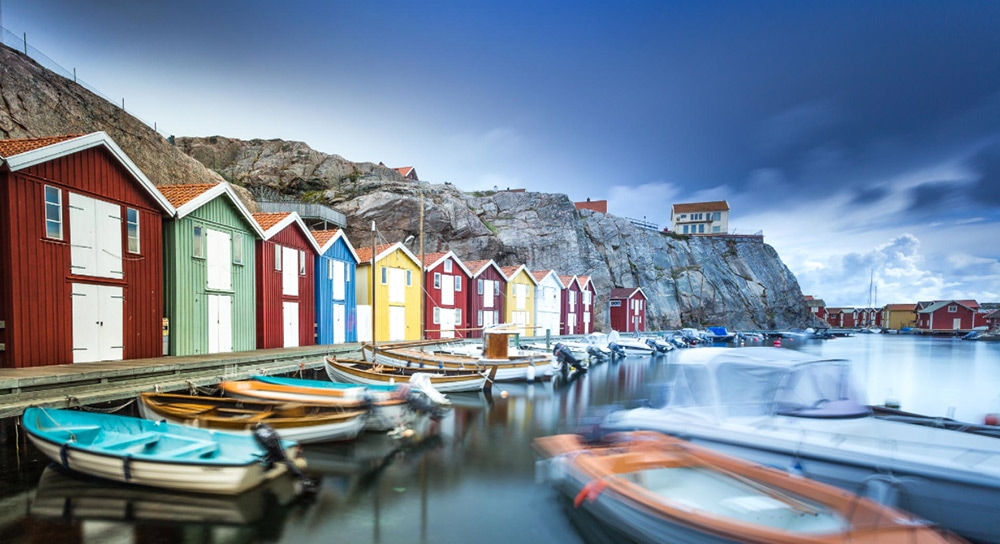
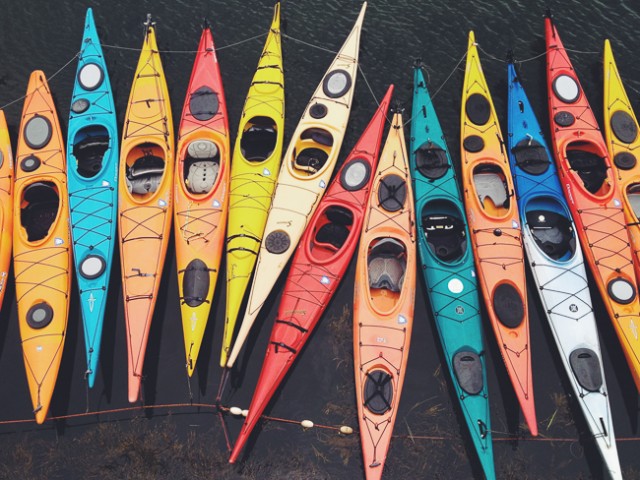
If you need to use this image, RIGHT CLICK > SAVE IMAGE AS > Save to computer
Grading Criteria ------->
|
Are you incorporated into the picture?
Did you utilize skills and functions on Photoshop to complete the project? Did you use tutorials/sites to help complete your project? Did you consider typography and appropriate fonts? Does it look like an album cover? Is the overall design balanced and follow the Principles of Design? Is your file the correct dimensions? 5'' W x 4.75'' H Was your project submitted on time (Wednesday)? Did you submit 2 file types via email? File > Save As > JPEG File > Save As > PDF Title both files YOURNAME and ALBUM COVER Upload to an email, send to teacher with the subject line reading "Album Cover Design" If you submit a back cover for extra credit, it must somehow flow with your front cover, contain at least 5 original song titles, and a bar code. Save the document the same way. |
